Ultimate Guide to Planting, Caring for, and Combining Plants in Containers
Posted by Jason Wyrwicz on Nov 25th 2025
Container gardening is one of the easiest and most versatile ways to introduce greenery, color, and design to any space - whether you’re working with a commercial entryway, a hotel courtyard, a rooftop terrace, or your own front porch. With the right planter setup, smart plant selection, and a little ongoing care, containers can thrive year-round and elevate any environment.
This comprehensive guide combines five container gardening topics into one easy-to-read resource. You’ll learn how to prepare any pot, plant successfully in wooden or non-draining planters, maintain thriving container gardens, and design beautiful companion plant combinations.
What You’ll Need
- Planter or planter box
- High-quality potting mix
- Plants appropriate for your light conditions
- Watering can or hose
- Slow-release or liquid fertilizer
- Mulch (optional)
- Landscape fabric or coffee filter (optional for drainage)
- Liner (optional for wooden or decorative pots)

Preparing Any Pot for Planting
Choose the Location First
Once a pot is filled with soil and mature plants, it becomes heavy. Place your container in its final location before planting so you don’t have to move it later. Consider:
- Light: Match full sun, partial shade, or shade to your plant’s needs.
- Visibility: Planters can flank entrances, define walkways, or add height against walls.
- Water access: Ensure the container is reachable with a hose or watering can.
Ensure Proper Drainage
Healthy plant roots need air as well as moisture. Without drainage, soil becomes waterlogged and roots suffocate.
- Check for one or more drainage holes.
- Elevate planters slightly with pot feet or risers to keep holes exposed.
- Cover holes with landscape fabric, a coffee filter, or a piece of mesh to prevent soil loss.
Tip: Skip rocks at the bottom of pots that already have drainage holes. This can trap water rather than help it drain.
Use Quality Potting Mix (Not Garden Soil)
A good potting mix is lightweight, drains well, and stays aerated. Garden soil is too dense and can cause compaction and root stress.
For extra-large planters, you can use lightweight filler materials (such as sealed foam blocks or empty plastic nursery pots) in the bottom third to reduce weight while keeping plenty of soil in the root zone.
Choose and Arrange Your Plants
When building a mixed container, use the classic design formula:
- Thrillers – Tall, eye-catching centerpieces
- Fillers – Mid-sized plants that add body
- Spillers – Trailing plants that cascade over the edges
Make sure all plants share similar light and watering requirements.
Watering and Fertilizing Basics
- Water when the top inch of soil feels dry.
- Water deeply until moisture exits the drainage holes.
- Use mulch to reduce surface evaporation.
- Feed with slow-release or liquid fertilizer throughout the growing season.
How to Plant in Wooden Planters

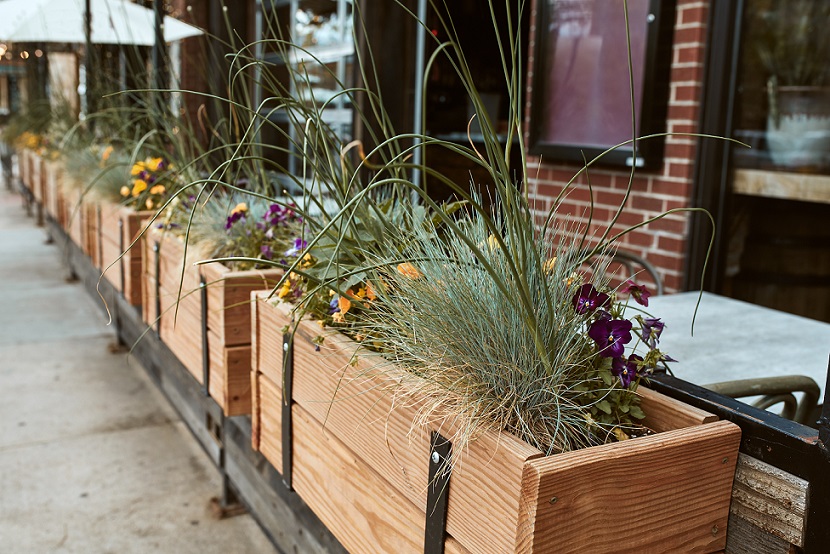
Wooden planters add natural character and warmth, but they require extra protection from moisture to prevent decay.
Seal and Protect the Wood
- Use an interior/exterior wood sealant to extend the life of your planter.
- Apply a food-safe sealant when you plan to grow edibles.
- Reapply yearly for long-term durability.
Ensure Good Drainage
- If the planter has no holes, drill several evenly spaced ones in the base.
- Raise the planter slightly so water can escape freely.
Optional: Line the Interior
Adding a liner helps protect the wood from constant moisture exposure.
- Use landscape fabric stapled into place, or
- A removable liner with drainage holes
Fill and Plant
- Add high-quality potting mix, leaving a few inches at the top.
- Arrange plants according to size and spread.
- Water deeply and ensure proper drainage.
How to Plant in a Pot with No Drainage Holes
Decorative pots without drainage holes are safe to use if treated as outer “cachepots.” Never plant directly into a non-draining container with soil alone.
- Add a drainage layer: Use river rocks or similar materials at the bottom.
- Insert a nursery pot: Use a pot with drainage holes that fits inside the decorative pot.
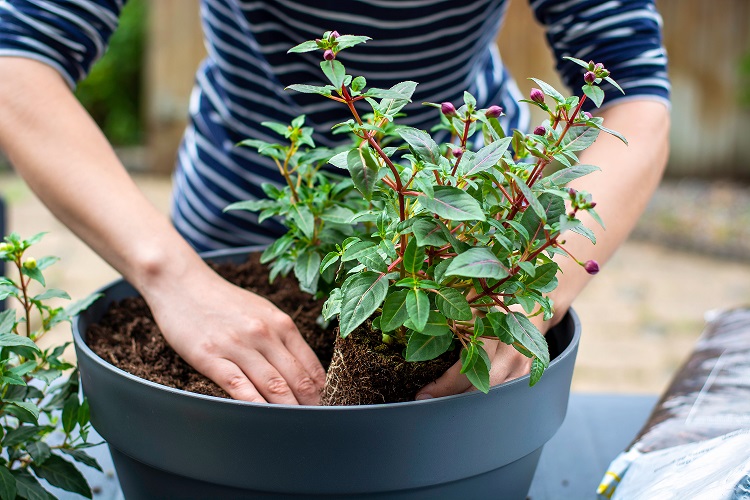
- Fill the inner pot: Add potting mix and your plant(s).
- Water slowly: Let excess water run into the bottom layer.
- Empty standing water: Lift the inner pot and pour out accumulated water after each watering.
Maintenance and Ongoing Care
Keep Containers Clean
- Wipe or rinse the outer surfaces periodically.
- Remove old soil and roots before replanting.
- Disinfect containers if pests or diseases were present.
Monitor Soil Levels & Compaction
- Add fresh potting mix if soil settles too low.
- Avoid packing soil too tightly; roots need airflow.
Prune, Deadhead & Refresh
- Remove faded blooms to encourage more flowering.
- Trim leggy stems for fuller growth.
- Seasonally replace tired annuals or reconfigure combinations.
Seasonal Protection
- In hot climates: water more frequently and use mulch.
- In cold climates: use frost-resistant planters or relocate containers to sheltered areas.
- For larger setups: consider drip irrigation for consistent moisture.
Companion Planting in Planter Boxes
Companion planting helps maximize space, repel pests, and improve pollination while creating visually appealing combinations.
Benefits of Companion Planting
- Pest reduction: Herbs and flowers help deter insects.
- Better use of vertical space: Combine tall and low-growing plants.
- Improved pollination: Flowers attract pollinators to food crops.
- Aesthetic appeal: Contrasting textures and colors add visual depth.
Companion Planting Principles
- Group plants that require similar sun and water levels.
- Respect mature height and spread.
- Don’t overcrowd—leave space for airflow.
- Rotate crops each season for soil health.
Great Companion Combinations
- Tomatoes + basil + marigolds — boosts pollination and visual appeal.
- Leafy greens + upright herbs — layered heights for efficient use of space.
- Strawberries + trailing edible flowers — beautiful and productive.
- Mixed herb planter — chives, parsley, oregano, and thyme in one sunny box.
Troubleshooting Common Planter Problems
Root Rot
Symptoms: Yellowing leaves, mushy roots, foul smell.
Fix: Improve drainage, remove affected roots, repot in fresh mix.
Soil Drying Too Quickly
Fix: Add mulch, choose water-retaining potting mix, move planter to partial shade, or use self-watering containers.
Plants Outgrowing the Container
Fix: Prune aggressively or repot into a larger container.
Salt or Mineral Buildup
Fix: Flush the soil thoroughly or replace top few inches of mix.
Bottom Line
With thoughtful preparation, proper materials, and ongoing care, your containers can thrive in any environment. Whether you’re decorating a commercial space or creating a small kitchen garden, these techniques will help your plants stay healthy and beautiful season after season.
Want to upgrade your containers? Explore modern, durable, commercial-grade planters to complement any design project.


